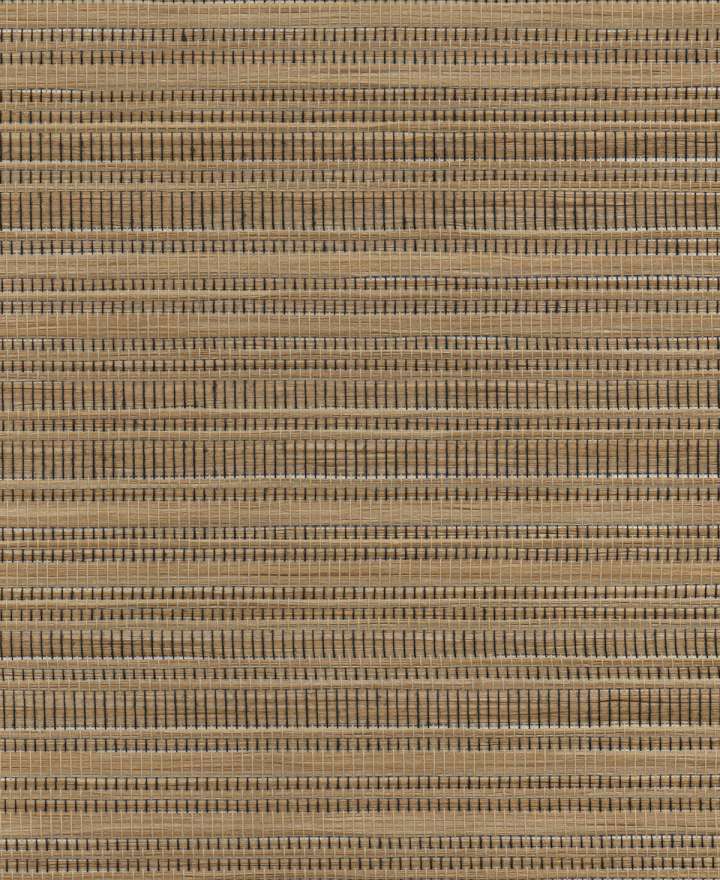
Natumat Roller Blinds Woven Paper
Made in Taiwan, fabrics combine paper materials with unique weaving designs of natural fibers, creating a series of textured fabrics with layered patterns.
More made to measure Roller BlindsInsert sizes for an estimate: NTD $1,560 up (≌ USD $52 up)
Width
cm
Out of range
Height
cm
Out of range
Customizable size range:
Width: 45
~
240 cm
|Height: 60
~
300 cm
Roller Blind
Decide which way you'd like to install your curtain, inside mount or outside mount. Measure by the following instructions:
Inside Mount
■ Install within the window frame. Often used in Bay Windows, or windows with windowsill.
■ Smooth and simple outlook. Reduce the area of covering window.
Inside Mount Measurement
STEP 1:Measure the in frame width
Please measure positions of left, middle, and right. Write down the minimum figures of these three, and that is the blind width.
STEP 2:Measure the in frame height
Please measure positions of top, middle, and bottom. Record the maximum figures of these three, and that is the blind height.
STEP 3: Measure the depth of window frame & the thickness of handle bar exceeds window frame.
Depth of window frame — thickness of operating bar exceeds window frame ≧ 7cm, the blinds can fit in the frame.
■ Minimum size unit: 0.5cm
■ The shape of window may not be vertical and level. It is suggested to measure three positions of height and width to avoid
unseccessful installation.
■ Reducing 0.5~1cm is suggested for customized width. This is to leave some space for possible alteration in installation work.
■ The covering area of drape indents from left and right side. 2cm for ballchain control/ 1 cm for end control. Outside mount
installation is suggested for complete coverage.
Outside Mount
■ Install on the surface, wall, or ceiling beyond the range of frame.
■ Can cover the window completely, hide window frame, increase covering area and reduce light leak in
from surroundings.
■ Can hide window shape and adjust visual effect of th space.

Outside Mount Measurement
STEP 1 Decide the length of blind:
Measure the in-frame width + extra width expected to cover = width needed
STEP 2 Decide the width of blind:
Measure the in-frame height + extra height expected to cover = height needed
■ Minimum size unit: 0.5cm
■ It is suggested to add more than 7~10cm all around the window frame. The actual extra covering area depends on the conditions of
the space or visual effects requested.
■ If installed in the curtain box, reduce 0.5~1 cm on customized width is suggested to keep some space for possible alteration in
installation work.
Reminders
■ The surroundings of window has to be completely flat and no obstables around when deciding window sizes.
■ Sizes shown on the products in the shipment are the sizes including systems and components.
Illustrations of sizes of window/ curtain box

Video instruction
How to get complete sizes on installation area of inside mount/ outside mount?
How to know inside mount/ outside mount is best for your blinds/ curtains?
>> Complete instruction
Warranty
• Unpack and check product conditions upon delivery
• Our on-site services or installation includes acceptance check and examination to ensure our service is well delivered.
• One-year warranty is granted under normal usages and for non man-made defects.
• When warranty period expires, maintenance or part costs will be charged after evaluation.
>>More After-sales Service
Searching For Ideal Curtains or Blinds?
MSBT provides many window coverings products and styles.
More Collection | Products


